How To Plan A Cohesive Instagram Feed For ANY Business
Your Instagram feed is oftentimes the equivalent of someone’s first impression of your brand.
It tells them if you’re well put together, if you’re current, if you’re active, and if you’re organized, or if you’re not. And who’s gonna buy from you if you’re not?!
And before you click out because you think cohesive Instagram feeds are all about light bright clean and airy influencer accounts, think again.
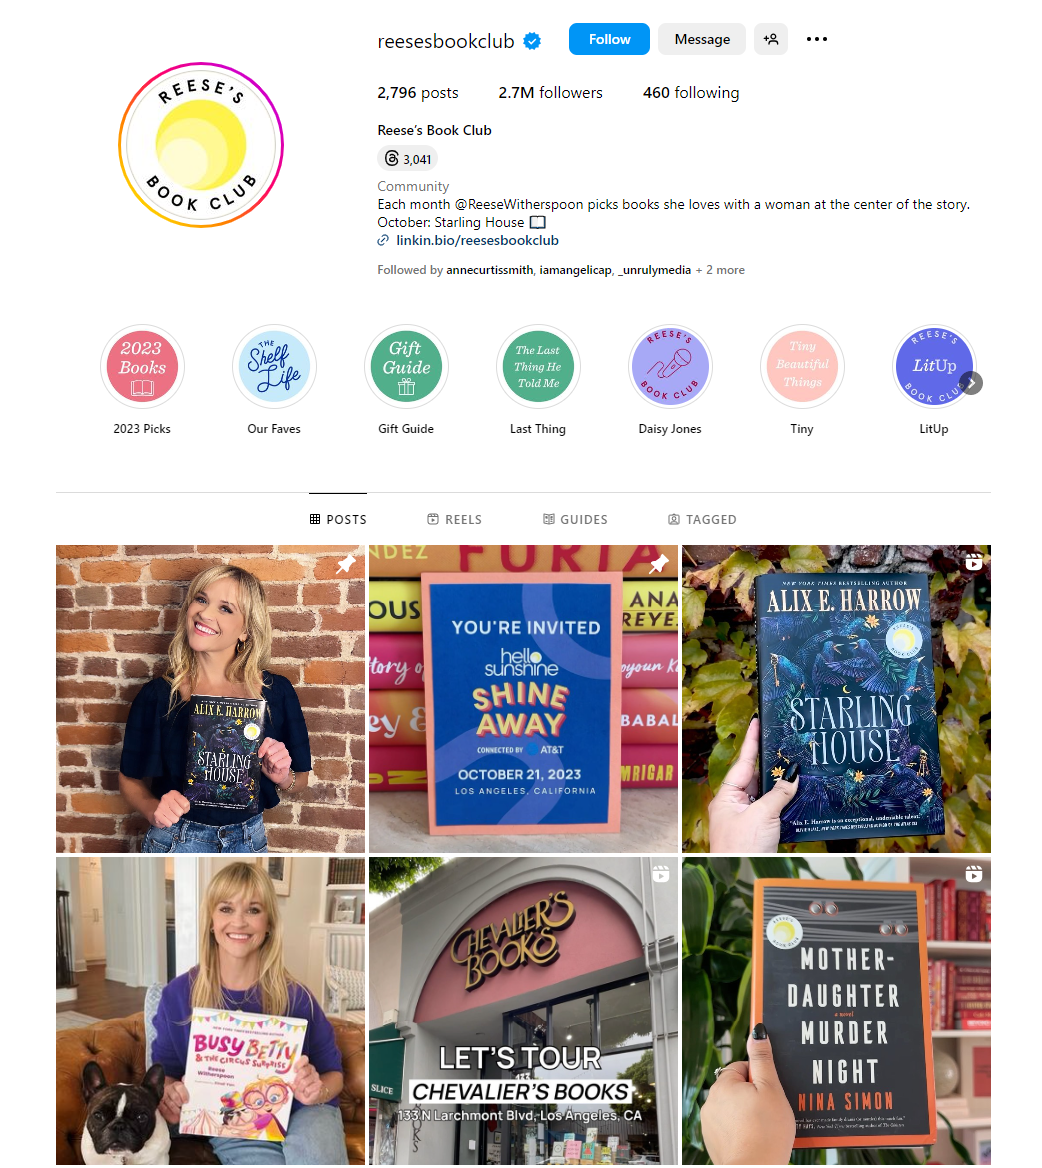
This feed is cohesive.

This feed is cohesive.

This feed is cohesive.
And they represent businesses of every industry.
Here are 5 easy steps to create a cohesive Instagram feed that will take your Instagram page to a whole new level- one your followers will appreciate and ultimately, purchase from.
Before we get into the rest of today’s post, if you’d like a free, custom marketing proposal and quote along with it to see exactly how our professional Instagram marketing services…
…can help your business grow and drive sales, contact us today to get started.
5 Steps On How To Plan A Cohesive Instagram Feed
Step #1: Look at other Instagram feeds within your industry or target audience lane.
What do we mean by target audience lane?
Essentially, if you can’t find a direct or close competitor that a) has an Instagram account or b) has a decent one?
You want to look for the next best thing, which is an account that targets the same audience you do.
For instance, if you’re the only seafood restaurant in your area…
…you can look at other restaurants that aren’t seafood but serve the same audience AND even local grocery stores that carry seafood.
The idea is to look and see what they’re doing right OR wrong.
Both pieces of information are valuable and things you can learn from to create a cohesive Instagram feed.
Jot down any common patterns you see from the editing to the coloration to the type of photos or Reel thumbnails they’re using, any Story highlights they have, all of it.
You’ll refer back to this list as we move through the next steps. Here’s an easy guide on how to do a competitor analysis to help you get started.
Step #2: Download a free app to see what your feed is gonna look like in advance.
There are a ton of apps you can choose from, but one we’ve personally used and liked is Preview.

The goal here is to be able to see exactly what your feed is going to look like before you actually publish the images.
This is something we did at scale on our end for one of our skincare clients, Egyptian Magic. And we grew their Instagram by over 15K in that time period.
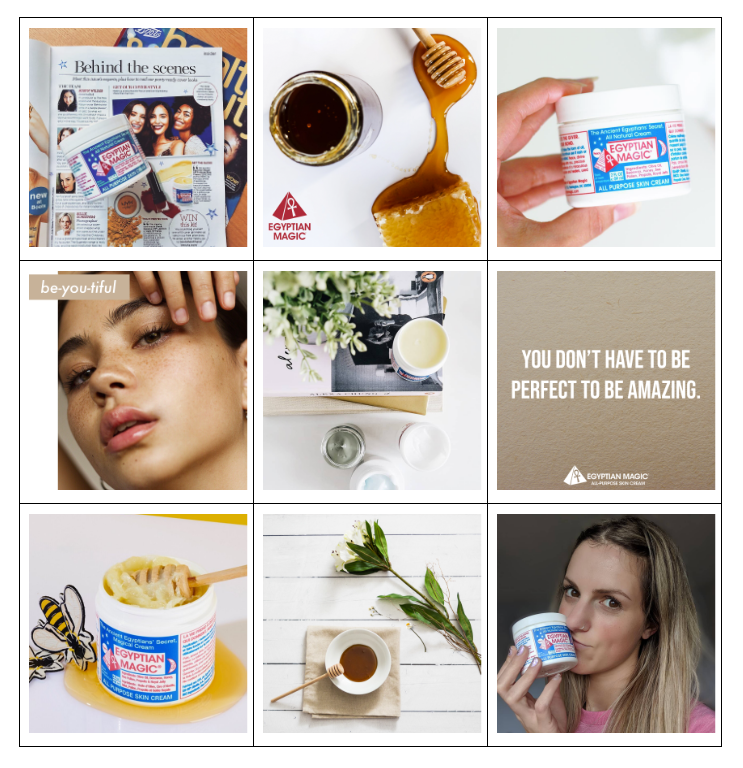
Now don’t worry, we’re going to cover how you get amazing and cohesive photos in a second.
But you’re going to want to have this app downloaded so that you can start plugging in those photos as soon as you have to build your feed in advance.
Having this kind of control allows you to avoid having a sloppy, or unattractive-looking feed.
Step #3: Determine what vibe or aesthetic you want to portray.
This is where you’ll want to reflect on your list from step 1 so you can see what your competitors are doing successfully.
What kind of feed do they have? Is it light, bright, and airy? Is it colorful? Is it dark and moody? Is it pretty natural and “no filter” looking?
Some industries have a more obvious aesthetic, like bookstore and bookish accounts for example tend to be more bright and colorful.
Whereas outdoorsy accounts like the Yeti account we looked at earlier, tend to have a moodier, darker aesthetic.
You want to pick a general aesthetic for your photos to have based on what’s working well…
…for the accounts that serve your shared target audience AND based on the type of photos you have or take for your business.
Some photos lend themselves more to certain aesthetics than others.
For instance, it’s hard to have a light and airy feed if the majority of your products and your storefront are both dark.
Hence why we think the reason a lot of bookish accounts end up with a colorful account is because they’re posting what? Books! And books come in every color.
Once you’ve settled on an aesthetic, it’s time to select an editing protocol that adheres to that.
There are thousands of editing apps out there. You can essentially take your pick, all the way from the free ones to the paid ones.
But some of the popular ones that I’ve used personally include:
- Lightroom,

- VSCO, and

- ColorStory.

We think the most popular route is to download presets to the Lightroom mobile app so you can transform pictures with the tap of a button.
A preset is basically a series of editing steps all saved into one preset so that when you apply that preset to a picture, it changes all of those settings in one step.
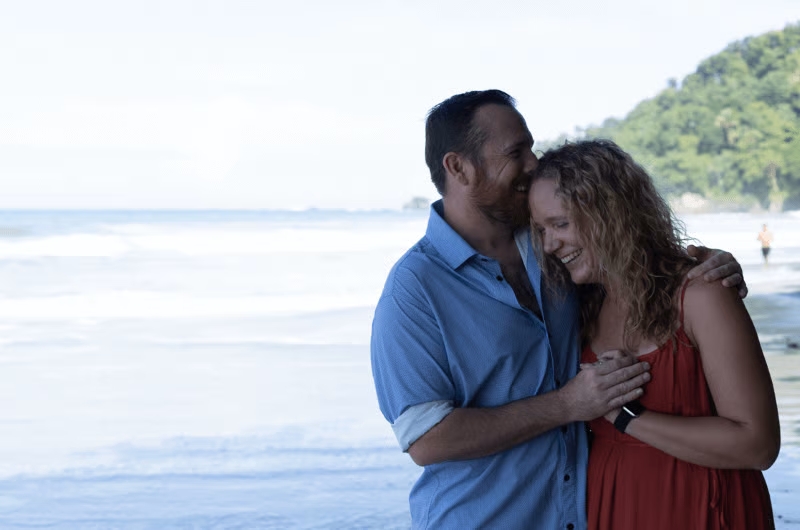
Lightroom is what I use for my personal Instagram. You can see in this photo what it looked like originally, vs. with a preset applied to it. It’s already a big difference.
And then after you apply the preset, you can still go in and tweak things as needed like exposure, tint, and more.
Another benefit to having a preset pack, pack meaning you get more than one preset, is that they all come from the same family, and therefore all go together.
Usually, the same preset can’t be applied beautifully to every single photo. Different lighting and different locations and subjects will require different editing.
Having a preset pack sort of gives you 5-10 different filter options that you can choose from and still have your feed look cohesive.
Now, presets can range anywhere from $3 off Etsy to $100 for a pack of them from a professional photographer.
If you’ve never used them before, we would find a free pack of presets on Pinterest or a cheap pack off Etsy to get used to them.
Then if you come across a photographer or influencer selling presets that look like they’d fit your brand aesthetic perfectly? You’ll be ready to invest.
VSCO in my experience can be a cheaper alternative for moodier filters, and Color Story is great for bright colorful photos.
PRO TIP: Just remember you don’t necessarily want your photos to look over-edited.
Pulling up the Reeses book club and Yeti account side by side, of course, we can see that these photos have been edited differently, but they don’t look like this.

That you can tell has been extremely over-edited. On the other hand, they also don’t look under-edited like this.
You need to find the same happy medium with your photo editing no matter which aesthetic you’re going for.
And for your graphics, here’s a tutorial on how to take your social media graphics to the next level using the AI tools in Canva.
Step #4: Be intentional about the content of your photos.
In addition to every photo or Reel thumbnail being from the same editing family, the photos themselves should be from the same family.
You don’t want to post the same type of photos back to back.
For instance, you don’t want to post all product images or the same poses back to back. You need to have a good variety or else your feed is going to look either unbalanced or boring.
You also don’t want to post stuff that’s off-brand for you. Speaking of Reel thumbnails, here’s an easy tutorial on how to make an engaging thumbnail.
Step #5: Make yourself a brand guide.
Once you’ve got everything solidified, having a brand guide will set all of your editing protocols in stone.
This will also allow anyone you hire the ability to edit and select images appropriately.
If you don’t know how to create a brand guide, here’s a quick tutorial for that.
But it’s a huge timesaver, especially as you grow and need to start delegating tasks to other people.
The post How To Plan A Cohesive Instagram Feed For ANY Business appeared first on Digital Marketing Blog.